【Swift】UIScrollViewを使ってカメラロールのような画像のスライド・スクロールを実装する
UIScrollViewを使ってカメラロールのように画像をスライド・スクロール表示する方法について説明します。
下記の画像がカメラロールでスクロールしたときの様子です。このように画像を横にスライドして次の画像を表示するアプリを作りたいと思います。

1. ソースコード
import UIKit

class ViewController: UIViewController {

    override func viewDidLoad() {
        super.viewDidLoad()

        let scrollView = UIScrollView()
        scrollView.frame = CGRect(x: 0.0, y: 0.0, width: UIScreen.main.bounds.width, height: UIScreen.main.bounds.height)
        scrollView.contentSize = CGSize(width: UIScreen.main.bounds.width * 3, height: UIScreen.main.bounds.height)
        scrollView.isPagingEnabled = true

        // 1枚目の画像
        let firstImageView = UIImageView(image: UIImage(named: "01.JPG"))
        firstImageView.frame = CGRect(x: UIScreen.main.bounds.width * 0.0, y: 0.0, width: UIScreen.main.bounds.width, height: UIScreen.main.bounds.height)
        firstImageView.contentMode = UIViewContentMode.scaleAspectFit
        scrollView.addSubview(firstImageView)

        // 2枚目の画像
        let secondImageView = UIImageView(image: UIImage(named: "02.JPG"))
        secondImageView.frame = CGRect(x: UIScreen.main.bounds.width * 1.0, y: 0.0, width: UIScreen.main.bounds.width, height: UIScreen.main.bounds.height)
        secondImageView.contentMode = UIViewContentMode.scaleAspectFit
        scrollView.addSubview(secondImageView)

        // 3枚目の画像
        let thirdImageView = UIImageView(image: UIImage(named: "03.JPG"))
        thirdImageView.frame = CGRect(x: UIScreen.main.bounds.width * 2.0, y: 0.0, width: UIScreen.main.bounds.width, height: UIScreen.main.bounds.height)
        thirdImageView.contentMode = UIViewContentMode.scaleAspectFit
        scrollView.addSubview(thirdImageView)

        // スクロールビューを追加
        self.view.addSubview(scrollView)
    }

    override func didReceiveMemoryWarning() {
        super.didReceiveMemoryWarning()
    }
}
2. 実行結果
上記のソースコードを実行すると下の画像のようになります。

3. 実装のポイント
UIScrollView の実装のポイントは以下の2つです。
3.1. ポイント 〜その1〜
scrollView.contentSize = CGSize(width: UIScreen.main.bounds.width * 3, height: UIScreen.main.bounds.height)
1つ目のポイントは、上記の contentSize を設定している箇所です。frame サイズをウィンドウのサイズに設定し、contentSize を frame より大きくすることで UIScrollView 内の画像をスクロールすることができるようになります。
今回は3枚の画像をスライドで表示するため、contentSize の横幅を画面サイズの3倍の大きさに設定しています。
3.2. ポイント 〜その2〜
scrollView.isPagingEnabled = true
2つ目のポイントは、isPagingEnabled オプションを true に設定することです。
isPagingEnabled を true に設定しない場合、以下の様に慣性で画像が流れていってしまいます。

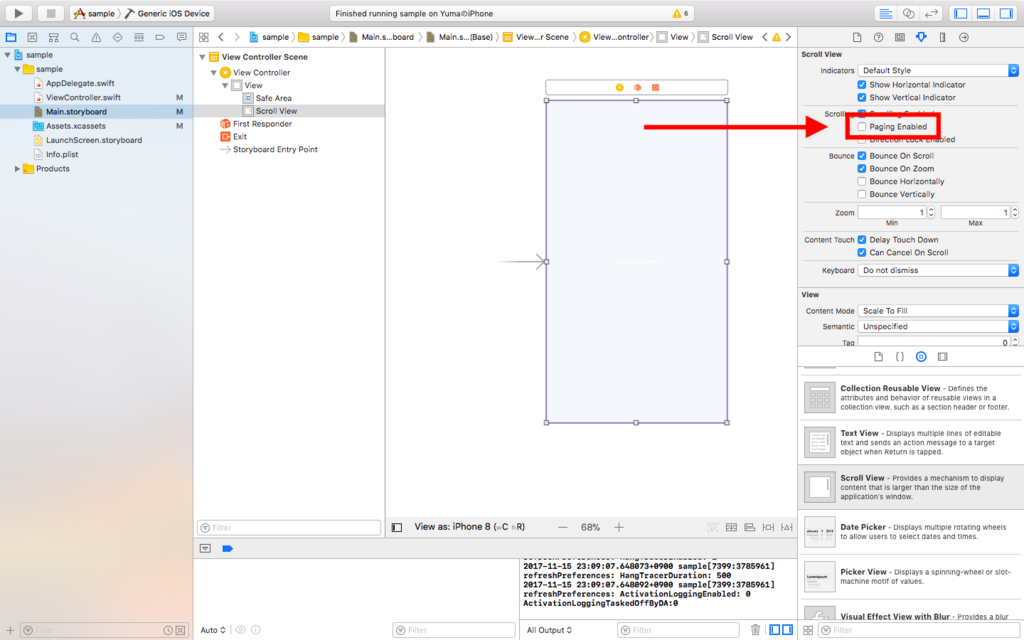
isPagingEnabled は storyboard からでも設定可能です。
